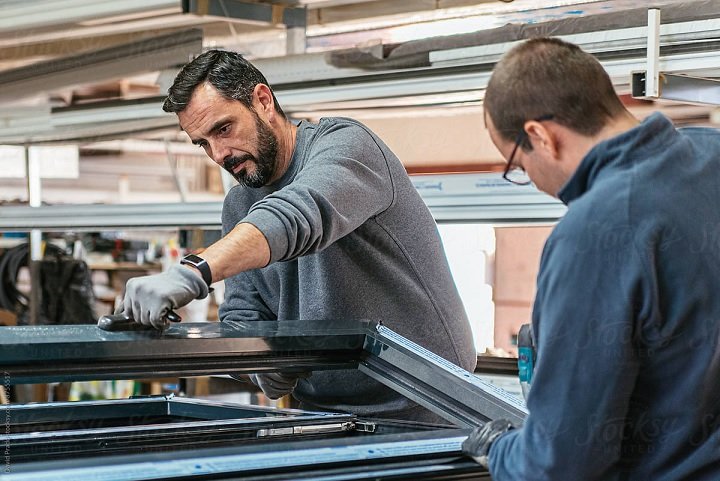
Installing an aluminum bracket can be a daunting task, but it doesn’t have to be. With a few simple steps, you can have your aluminum bracket securely installed in no time. In this blog post, we’ll walk you through the five easy steps for installing an aluminum bracket.
Table of Contents
Step One: Choose the Right Bracket
Step One: Choose the Right Bracket
When installing an aluminum bracket, the first step is to make sure you choose the right bracket for your needs. This means taking into account both the size and shape of the bracket, as well as the intended purpose.
For example, if you need a bracket for mounting a light fixture or shelf, look for a flat, rectangular bracket with holes for screws. If you need a bracket for reinforcing the corner of a wall, look for a triangular bracket with mounting plates on each side.
No matter what type of bracket you choose, ensure that it is rated to hold up whatever weight you plan to place on it. Pay close attention to the brackets’ specifications and determine if they can support the weight you need. Otherwise, you risk the bracket bending or breaking under pressure.
Step Two: Drill the Holes
To install an aluminum bracket, you’ll need to drill two holes into the wall. To do this, use a power drill and the appropriate size drill bit for the screws you plan on using. Start by measuring and marking the center of each hole. By doing this, you can ensure that the bracket will be installed level. Once your marks are made, position the drill bit directly on the mark and start drilling. For best results, always keep the drill bit perpendicular to the wall. Drilling both holes enables you to proceed to the following action.
Step Three: Add the Washers
Adding washers to your aluminum bracket is an essential step in the installation process. Washers help the bracket’s weight be distributed evenly and give the screws a better surface to grip. Before you insert each screw into the bracket, add the washers by placing one washer on each one. Make sure that all washers are flush with the surface of the bracket.
Step Four: Insert the Screws
Step Four of the installation process is inserting the screws. To do this, you’ll need a screwdriver and some screws that fit the holes in your aluminum bracket.
First, make sure you have suitable screws. They should fit snugly into the holes and be flush against the surface of the bracket. If they are shorter, they may not hold the bracket securely or, worse, damage your wall.
Once you’ve located the right screws, carefully place them in each of the aluminum bracket’s holes with your screwdriver. Don’t overtighten them to avoid warping the bracket, but make sure to press down firmly.
If possible, try to alternate between inserting screws on the left side of the bracket and then on the right side so that the bracket is held securely in place. This will ensure that your bracket is installed correctly and securely. Once all screws are inserted, your aluminum bracket should be firmly in place!
Step Five: Check the Bracket
Once you’ve finished installing your aluminum bracket, it is essential to check that it is secure and stable. First, look for any damage or flaws in the bracket. Check for any sharp edges that might cut you. To ensure that the bracket is installed straight and level, proceed to Step Two. Third, guarantee that every fastener is snugly tightened. Last but not least, test the bracket by applying pressure in various directions to see if it can support the weight of whatever you plan to mount to it. If everything checks out, congratulations—you have successfully installed your aluminum bracket!
Conclusion
By following the steps mentioned above, you can ensure the proper installation of an aluminum bracket. Even if you don’t get it perfect at the beginning, you wouldn’t need to worry. Over time, you can achieve perfection with practice and patience.
